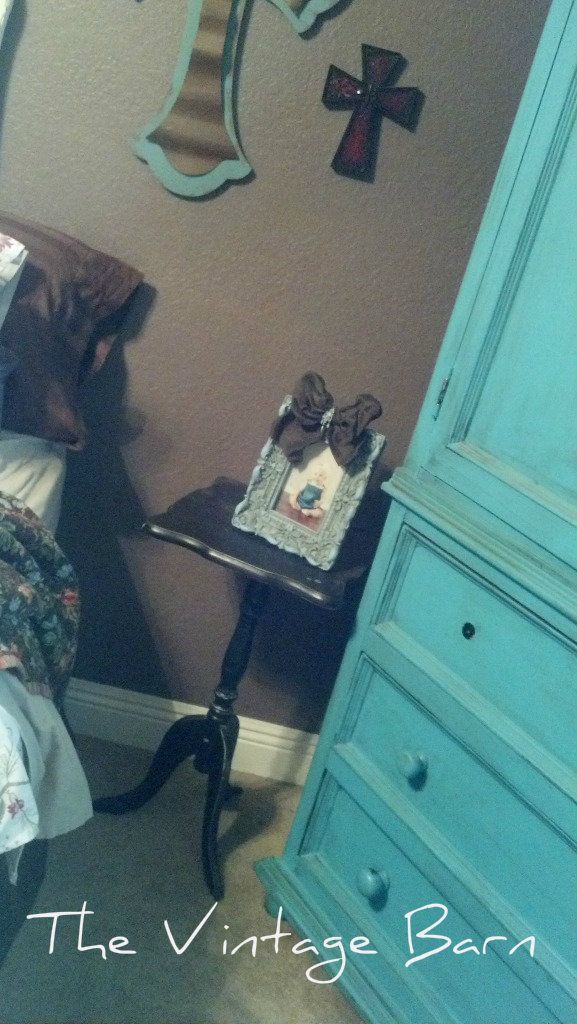
Well this black nightstand has been BUGGING me!
(Most all of the black pieces in my house are...feeling a major painting overhaul coming on.) (Yes, you are seeing a missing knob on the top drawer of my armoir...I sold a piece a while ago that needed it. Mine matched perfectly and I took it off...just keeping it real...telling the truth people!)
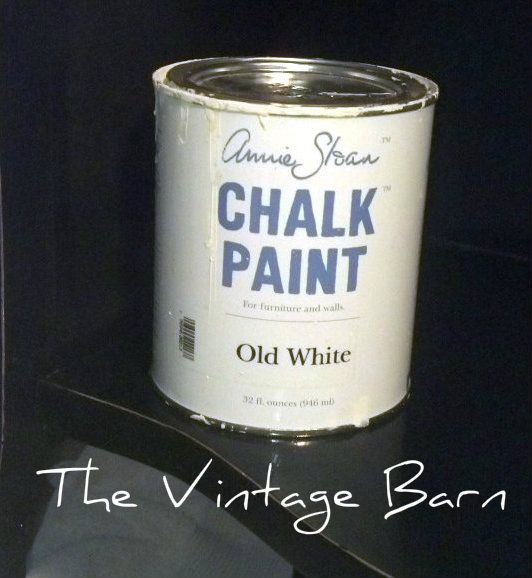
I started with my favorite staple...Annie Sloan Old White.
A nice light coat...evenly painted with a brush. Honestly, I wasn't sure what color (if any) I was going to do next. I knew the black nightstand didn't work in the room...not sure if I wanted white either? So...I walked away during the drying time (quick) and thought about it. Thinking about it during laundry, cleaning, playing...blah, blah...blah..
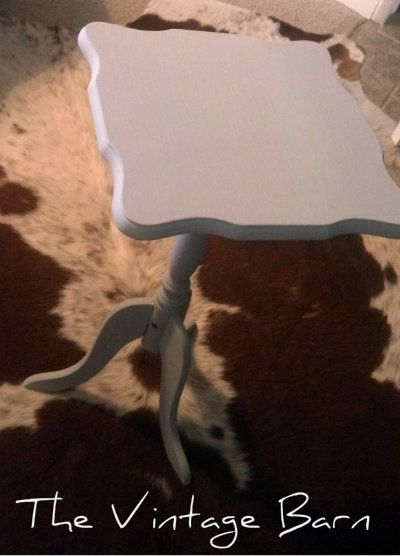
So a deeper, richer color was needed...Annie Sloan Paris Grey.
Another light, even coat of this AS Paris Grey over the Old White...I think this will work just fine. (Do you notice I am painting this in our bedroom this whole time? This paint is so easy to work with and the distressing part is used with a warm, wet rag...no mess!)
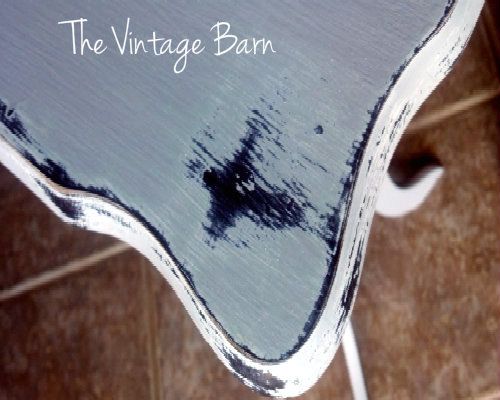
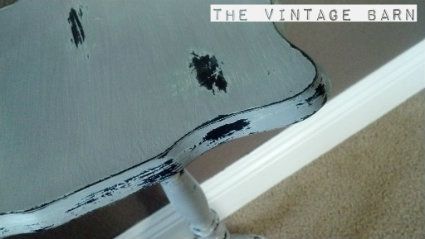
A little distressing to bring the colors out and add character. (I have found that rubbing the opposite way I painted...helps to reveal the under color better. Try it!)
I try to distress in areas that would naturally get wear. If you get too crazy and start distressing everywhere...it seems, um...well, a little OVERDONE!! The selling point on this Annie Sloan paint for me was the distressing part. Not that I dislike sanders and sand paper...but, honestly wetting a rag with warm water just seemed...well, easier?!?! Less mess. Less dust. Ok...sold.
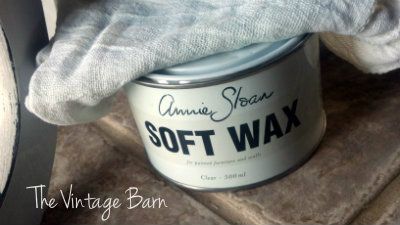
Annie Sloan Clear Wax...and a clean, lint free rag are my next tools.
I just smear a small amount of wax on my rag...and worked it right into the chalk paint. you don't have to let it dry too long...an hour or so. Mine got to dry over night...as it was time to make dinner, give baths...bedtime. It won't hurt it to stay on longer.
Then I came back with a different, clean and lint free rag...and with some elbow greased...buffed it to a perfect light shine. Santa brought me a power buffer for BIG pieces...you really can't work the wax in properly without it.
I have one other nightstand in this room to transform...later this week. Check back for pictures of that! Find a project to tackle and transform...start small or big, either way...just start!
Love & Junk~
Julie



Love your painted up night stand, and the distressing is fabulous!! Thanks for sharing!
ReplyDeleteThank you Jane! I am working on another on my hubby's side of the bed...stay tuned!
DeleteHave a great weekend!
Julie