I am STILL on a mission to transform our living room.
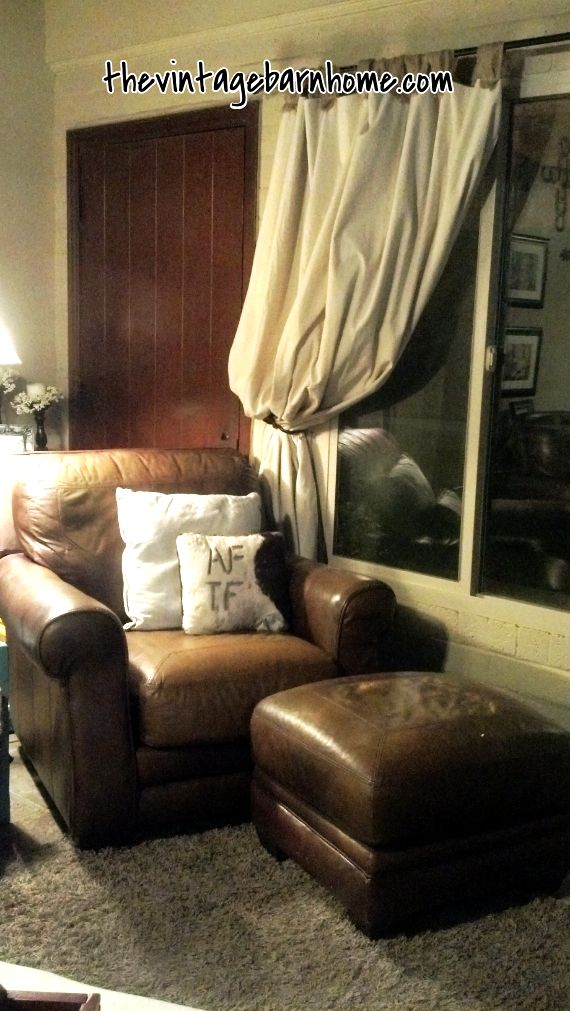
Yep...more of the removal of ALL OF THE DARK BROWN...it's outta here!
Yep...more of the removal of ALL OF THE DARK BROWN...it's outta here!
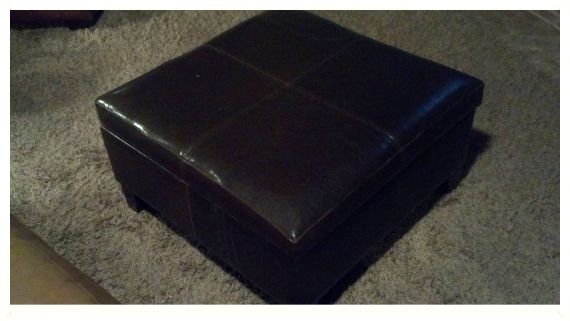
There really isn't anything wrong with this ottoman. The leather is in great condition, it is a beautiful color...and the lid lifts up to store our games. But, you guessed it...it is dark brown and I am wanting to cover it temporarily. I LOVE dark things in the fall and winter...just not this time of year. I decided a quick and inexpensive slip cover made from drop cloth will fit the bill!
Warning: This is NOT a technical tutorial. NONE of mine are. My tutorials and step-by-steps are fast, easy to understand and can all be done DURING NAP TIME!!! Yeah for nap time projects!
I started by washing and drying the drop cloth. Then, I just draped it UPSIDE DOWN over the ottoman and pinned the corners as you see above. When I sewed this...this created a nice edge...then flip it the right way to continue working.
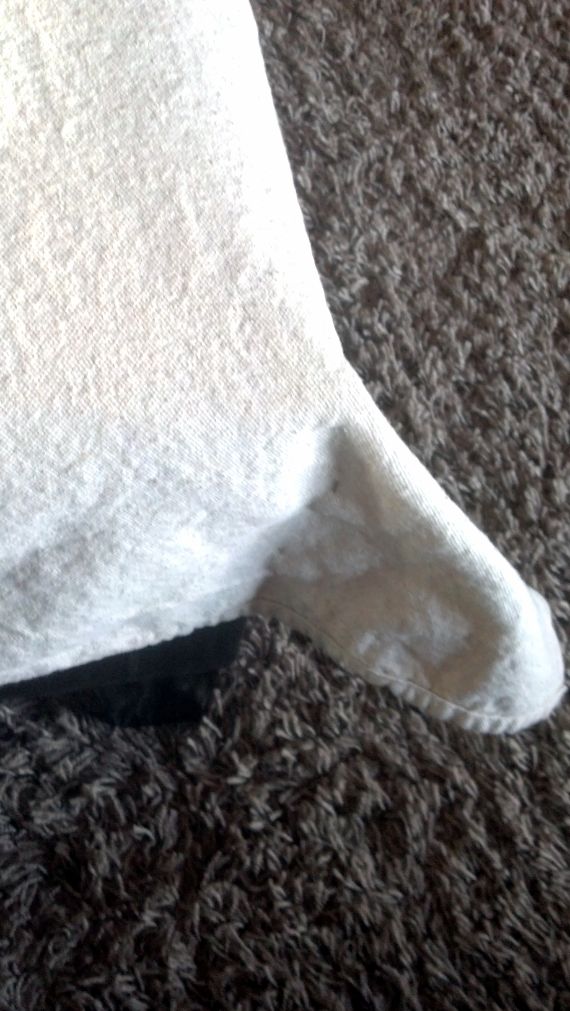
Just another picture of pinning the corners...
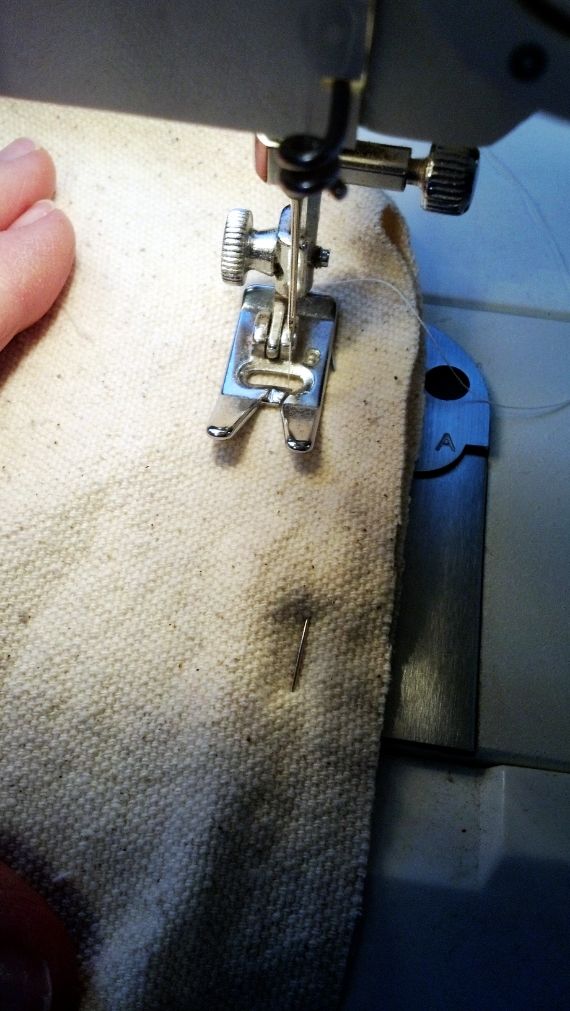
I sewed these corners...making sure my ends are hemmed well because I plan on washing this slipcover. (I don't want to be the mom that doesn't allow a PB&J or popcorn to be eaten in the living room. My girls like to have "picnics" on rainy days inside...so do I!)
I also ran along the bottom of the slipcover and made a nice hem. This will be a hem/seam that is over the ruffle for a nice and finished look.
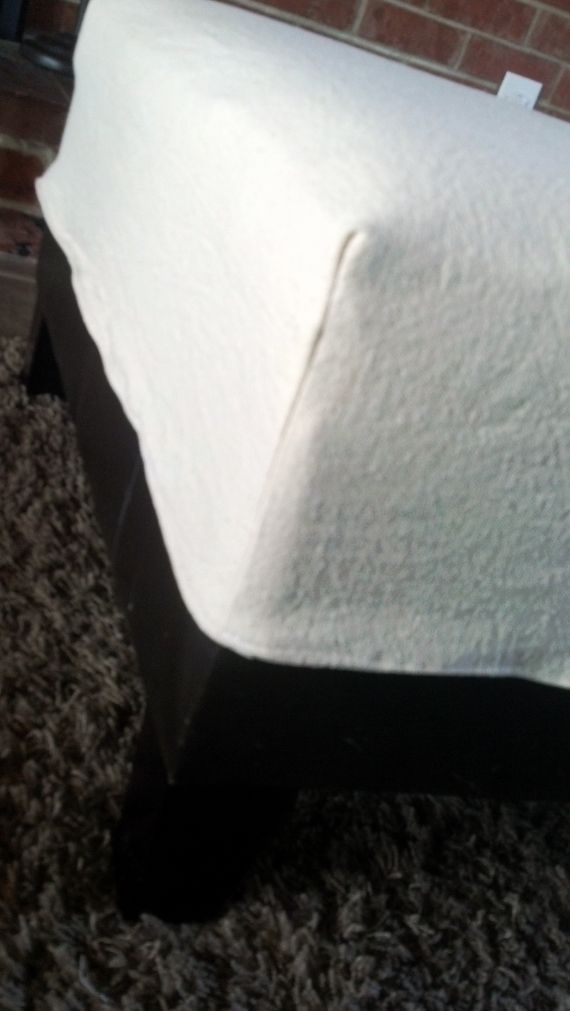
Here, you can see the nice and clean edge.
(Not thrilled with this photo...I didn't realize the only one I had was this one...oops!)
Brace yourself...I didn't measure! Nope, you know I more often than not, have to work fast.
I eyeball A LOT...and do not mind, one bit...a slight imperfection in something for myself or my home. When filling orders for others...I stress like a crazy lady for perfection!
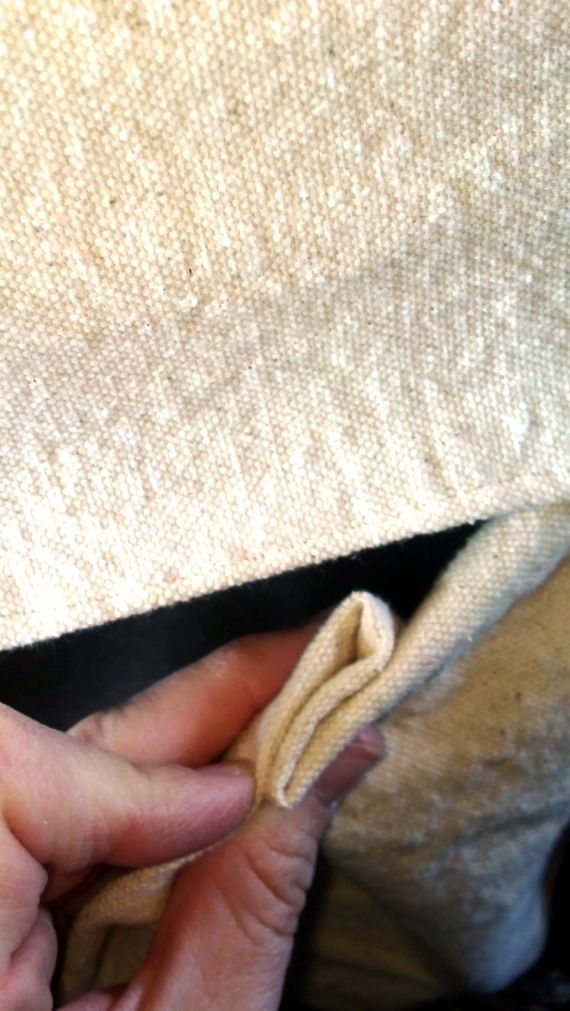
You can see I just folded the drop cloth, making a pleat... and pinned it to the inside of the top of the slip cover. That's it...easy.
You can see I just folded the drop cloth, making a pleat... and pinned it to the inside of the top of the slip cover. That's it...easy.
I cut about a 5 inch strip along the edge of the drop cloth that already had a seam sewn. You may need to have a wider or thinner strip for your ruffle...depending on how high your ottoman is.
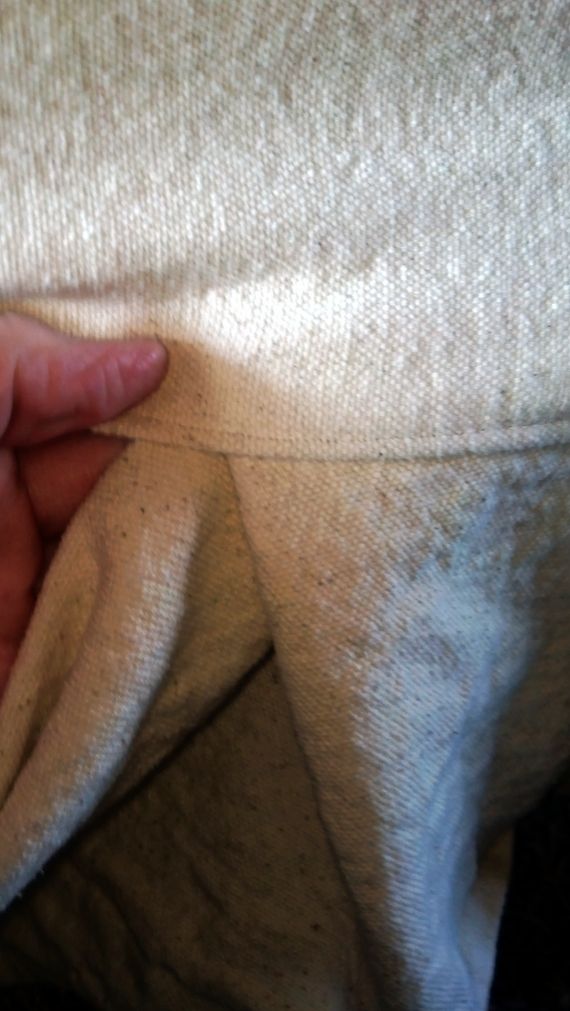
Just pin the pleated part you made on the ruffle piece to the inside of the top of the slipcover...as you see above.
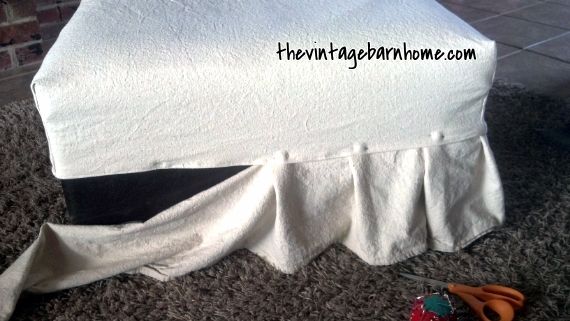
Keep doing so all the way around. I said earlier...I don't measure...and I think that adds character!
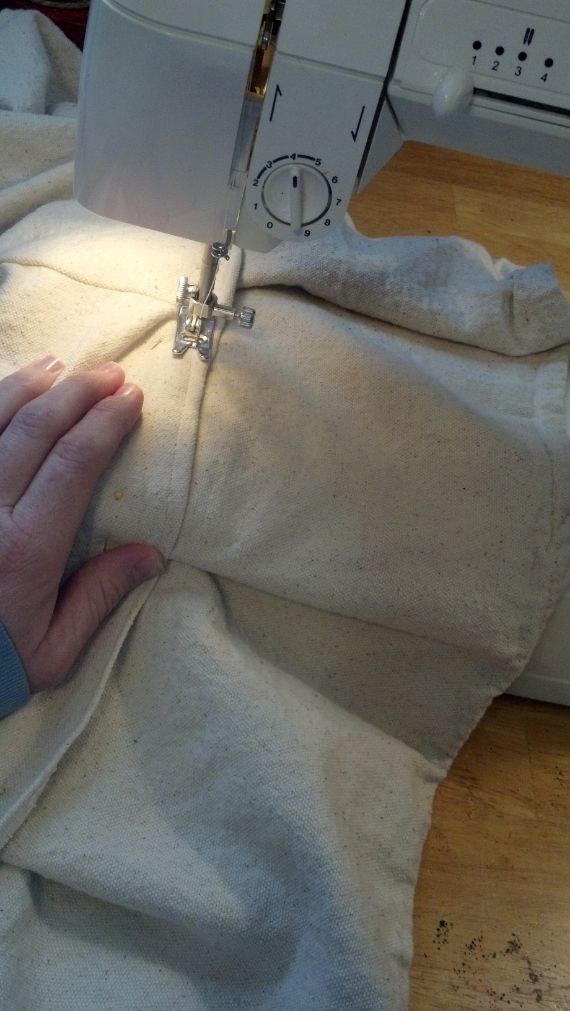
Next, I sewed my ruffle piece on...making sure that the top piece of the ottoman cover sat over the ruffle piece. Remember, this will give you a nice, clean and finished look.
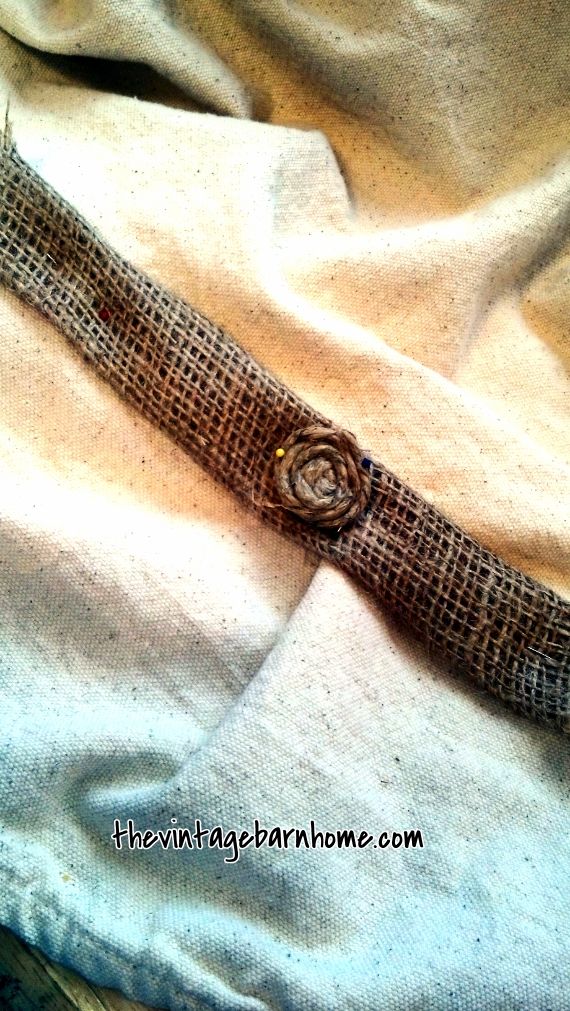
I LOVE burlap...and I am working on a burlap ribbon to sew over the seam around the edge. I also want to make a few little rose buds out of my hemp twine...just not sure if the burlap will wash well? That is why I am hesitating...and running a load in the washer right now of a mock slipcover with burlap. We will see...
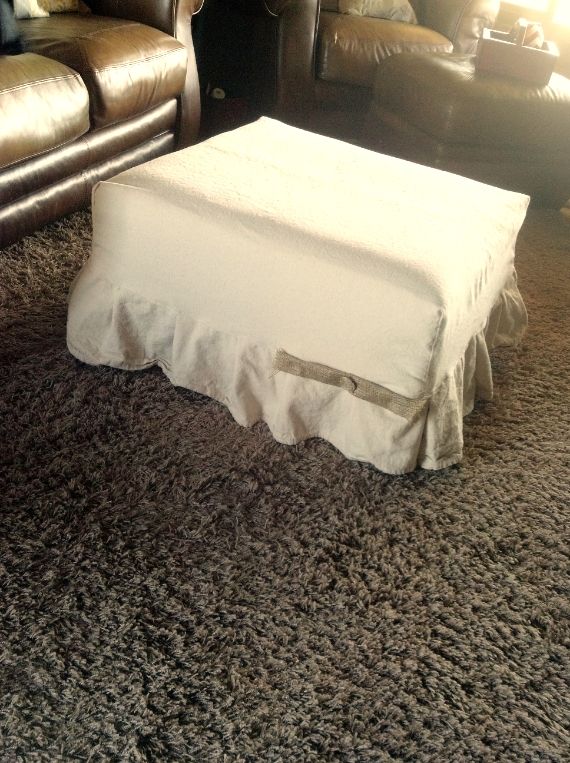
If I do sew it on...here is an idea of what I am thinking. What do you think?
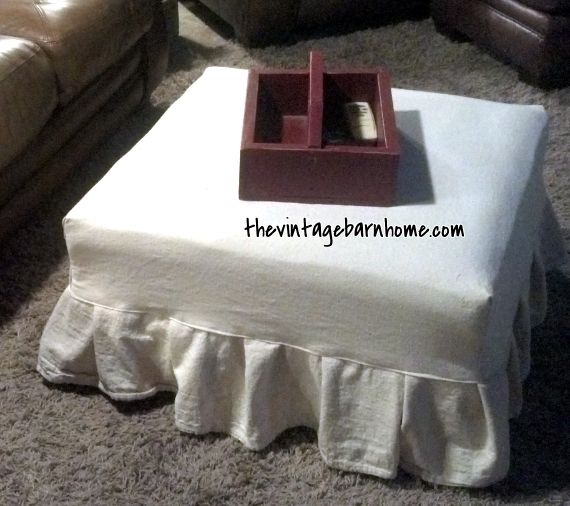
All done...washable, light and airy for Spring!
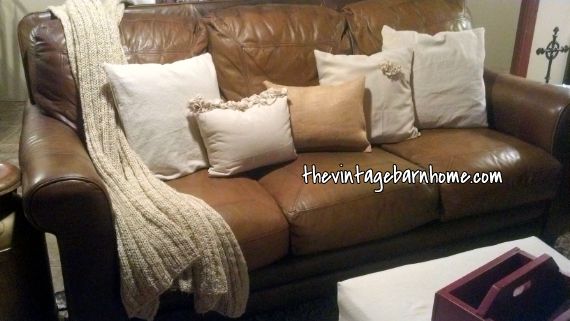
The girls and I tossed some pillow covers on the couch made with the matching drop cloth. I am not finished with them yet...I think I am going to do a French Grain Sack stencil...or our monogram.
I am also ready now to add in some apple green...not too girly, my hubby doesn't like too girly!
I couldn't take the blah-ness...so, I added a little burlap for cuteness!
Boring blah...to burlap-y cute!
Ta da!
Lots of work to do still...have a fabulous day!
Love & Junk~
Julie
Linking up to and ParTYinG with:


What a great idea! I have an ottoman about the same size and style that is in desperate need of a makeover, I might just have to try a drop cloth cover! Awesome! I would love to also invite you to join Totally Tuesday and link up your blog for my first ever link party: http://www.madcapfrenzy.blogspot.com/2013/02/totally-tuesday-1-link-party-time.html
ReplyDeleteTry it...you will love it. Easy to make, wash...and can decorate around it with any color!!
DeleteI will link up...thanks!
Julie
It looks great & I really like the accent trim!!
ReplyDeleteThank you, Beth! I wasn't sure at first...but, I think the burlap accent finishes it.
DeleteThanks for stopping by!
That looks great! We'd love for you to link this up at our party! http://www.housewivesofriverton.com/2013/02/riverton-housewives-round-up-54.html
ReplyDeleteLove your dropcloth ottoman cover. I have a square ottoman that I have been thinking about covering. I am off to the paint store for a cloth tomorrow. Thanks for the great tutorial.
ReplyDeleteThanks Bonnie...have fun with your project!
DeleteI wish I could still see the pictures! I LOVE the finished project...
ReplyDelete