Monday, February 25, 2013

Motivation for Monday...Family Matters


True.  So true.

When I was younger (like many young girls, and still some older ones I know) material things were something I wanted and had to have.  I had designer jeans (too many!) Expensive shoes (it's sickening the pairs of shoes I have, I am still wearing those!)  Designer bags...let's not even venture into talking about those.  If I am being honest...those things "mattered" to me then.  Really, buying them...wearing them...just knowing I had them in my closet...yep, it "mattered."  Sad.

I like to think I am maturing and really "getting" it as I get older.  Those things don't matter.  Time has a way of showing us what truly matters.  Don't get me wrong...I LOVE nice things...but, I have to find them on sale and when they fit into our budget.  The difference now is...that I don't HAVE to have things to feel "good" and "accomplished."


This weekend we had a family filled weekend.  We had dinner on Saturday with my husband's side....and dinner on Sunday with my side.  Family is what matters.


This is REALLY what matters to me and my husband...our girls.  What makes me feel "good" and "accomplished" now is working on helping them to build their relationship as sisters and friends.  My hope is for them to be close...throughout their whole lives...no matter where they are.  
This is what matters to me....

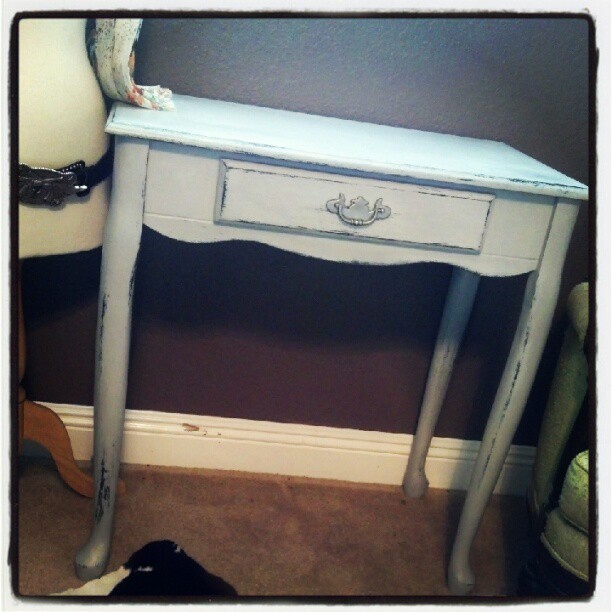
I hope you have a fabulous week...and come back because I have my living room transformation and some fun furniture all finished and ready to reveal!!!

Love & Junk~
Julie


Thursday, February 21, 2013

This Ol' House Thursday...STILL Working On The Living Room

I am STILL working on lightening up our living room...I posted my curtain makeover here http://thevintagebarn.blogspot.com/2013/02/transformation-tuesdaypoof-gone-with.html  .  It is definitely a work in progress...lots to do and not a lot of time.  


I have a few colors in Annie Sloan's Chalk Paint...not all yet (building my inventory slowly...little costly on this WAHM budget!)  So, to get the look of other colors...I am mixing them.  Here, I am mixing Florence, Old White and Paris Grey...I will let you know the results later this week.  


Here is a little peek...it is still wet, not distressed and not waxed and buffed yet...give her a break!


But...I am finished with this sweet little piece...an entry table or set a mirror on her and you have an instant vanity!   When I bought this someone had painted it in a flat black...not bad.  I cleaned it thoroughly and gave it a base coat of Annie Sloan Old White and then Paris Grey over that.


I gently distressed it in natural wear places...


Such pretty, dainty lines...


All done!  I love this little piece...click on the "shop" link for more info or message me on Facebook...


Love & Junk~
Julie


Linking up to and PArTYinG with.........

Photobucket


Somewhat Simple


Photobucket

Transformation Thursday


52 Mantels


Furniture Feature Fridays


Wednesday, February 20, 2013

Dairy Wife Wednesday...Banana Cupcakes (or so our 4 year old thinks!)


First off...this is the best banana MUFFIN you will eat.  I have called it a "cupcake" only to trick our 4 year old into eating breakfast!

This recipe is a mish mash of a few different recipes that I like...one from a church cookbook, one that I stumbled upon on the internet and yes, Martha!

I have omitted the oil and added butter (of course!) AND added the sour cream that Martha puts in hers.


The reason this recipe is titled Banana "Cupcakes" is only to trick our 4 year old into eating!  She is a VERY light eater (I would wonder if she were mine...except I remember EVERY bit of delivering her!) 
So, we set off this morning and with her help, we gathered, mixed and baked the "cupcakes."  
Oh, my goodness...she can NOT wait to eat a "cupcake" for breakfast! 
 (I think I am on my way to winning this battle...)


 I have found this combination to be the best tasting and most moist recipe for banana bread/muffins.  Give it a try!


Start with 1/2 cup of REAL CA butter at room temperature... 


2 eggs...


1 cup of granulated sugar...


Mix butter, eggs and sugar until light and fluffy...


In a separate bowl... mix 1 1/2 cup all purpose flour...


1 tsp baking soda...


1 tsp salt...


Blend the dry ingredients into the butter mix...mix well.


Add 1 cup of mashed ripe bananas...about 3 medium bananas.


1/2 cup sour cream

1 tsp vanilla


Fill up about 3/4 of the way full...and we added walnuts to a few...

Bake at 350 degrees for about 15-18 minutes...maybe a bit longer...


Don't forget a cold glass of REAL CA milk!


Love & Junk~
Julie

Linking up to and ParTYinG with........

Photobucket


Lil\'Luna


Tuesday, February 19, 2013

Transformation Tuesday....Poof! Gone with the ugly brown curtains!

Okay...so, here is a quick drop cloth curtain tutorial (if you can even call it that?!?)  

 I have mentioned that I am DESPERATELY wanting to lighten up (in more ways than one...personally, too!)  our home.  We live in a really cool...ranch style home...with a barn wood brown ceiling (see below.)  Our brown leather couches, cow hides and dark brick are some of my favorite things about our home.   But....Spring is almost here and I am really want to decorate with whites/ecru and apple green!


Brown door, brown ceiling, brown curtains (ick, really Julie?)  Are you feeling my desperation???


This is JUST the start to the makeover on this room...here is the finished product on the curtain panels.


A little burlap loop at the top...for a shabby rustic way to hold them up!


I started with a clean, pressed wheat color drop cloth...yep, just from the hardware store.  Look at it for a second...and let the hemmed edges work for you!  I let those hang on the bottom...so, my curtains were finished for me!


Next, I pinned them to my brown curtains I had.  Yep, I put those to work for me, too!  The brown panel will serve as a "black out" and make these curtains darken the room more (we get a TON of hot summer heat from that BIG window!)  I folded the edges in, and that will serve as my hem (remember, my baby is napping and the oldest is working with dad...this HAD to be FAST!)  I left the brown loops at the top...you will see how we "doctor" those later...


I really just placed the drop cloth over the brown panel, folding in all edges...and started sewing those edges together.  I told you this was easy!


Back to the brown loop thingy's....okay...I just grabbed some burlap ribbon I had and placed it right over the brown loop...and sewed that on.  I left my burlap edges rough and frayed... I like the rustic, not perfect feel...


My ribbon was wider than the original brown loop...just gather it and sew it down.


Right over the brown loop...leaving that brown loop to actually be what the curtain will hang from is  better...because the weight of this panel now is much too heavy for that burlap alone.


That's it...quick, simple and the brown is gone!  I am finishing up the curtains on the sliding glass door, painting some brown and black furniture in the room...and will have more pictures later!

Have a FABULOUS week!!!

Love & Junk~
Julie

Linking up to and ParTYinG with............................

Button:


Chef In Training


Home Stories A2Z


Inside
BruCrew Life


Photobucket